How To Replace Bathroom Fan Vent
We may get commissions for purchases made through links in this post.
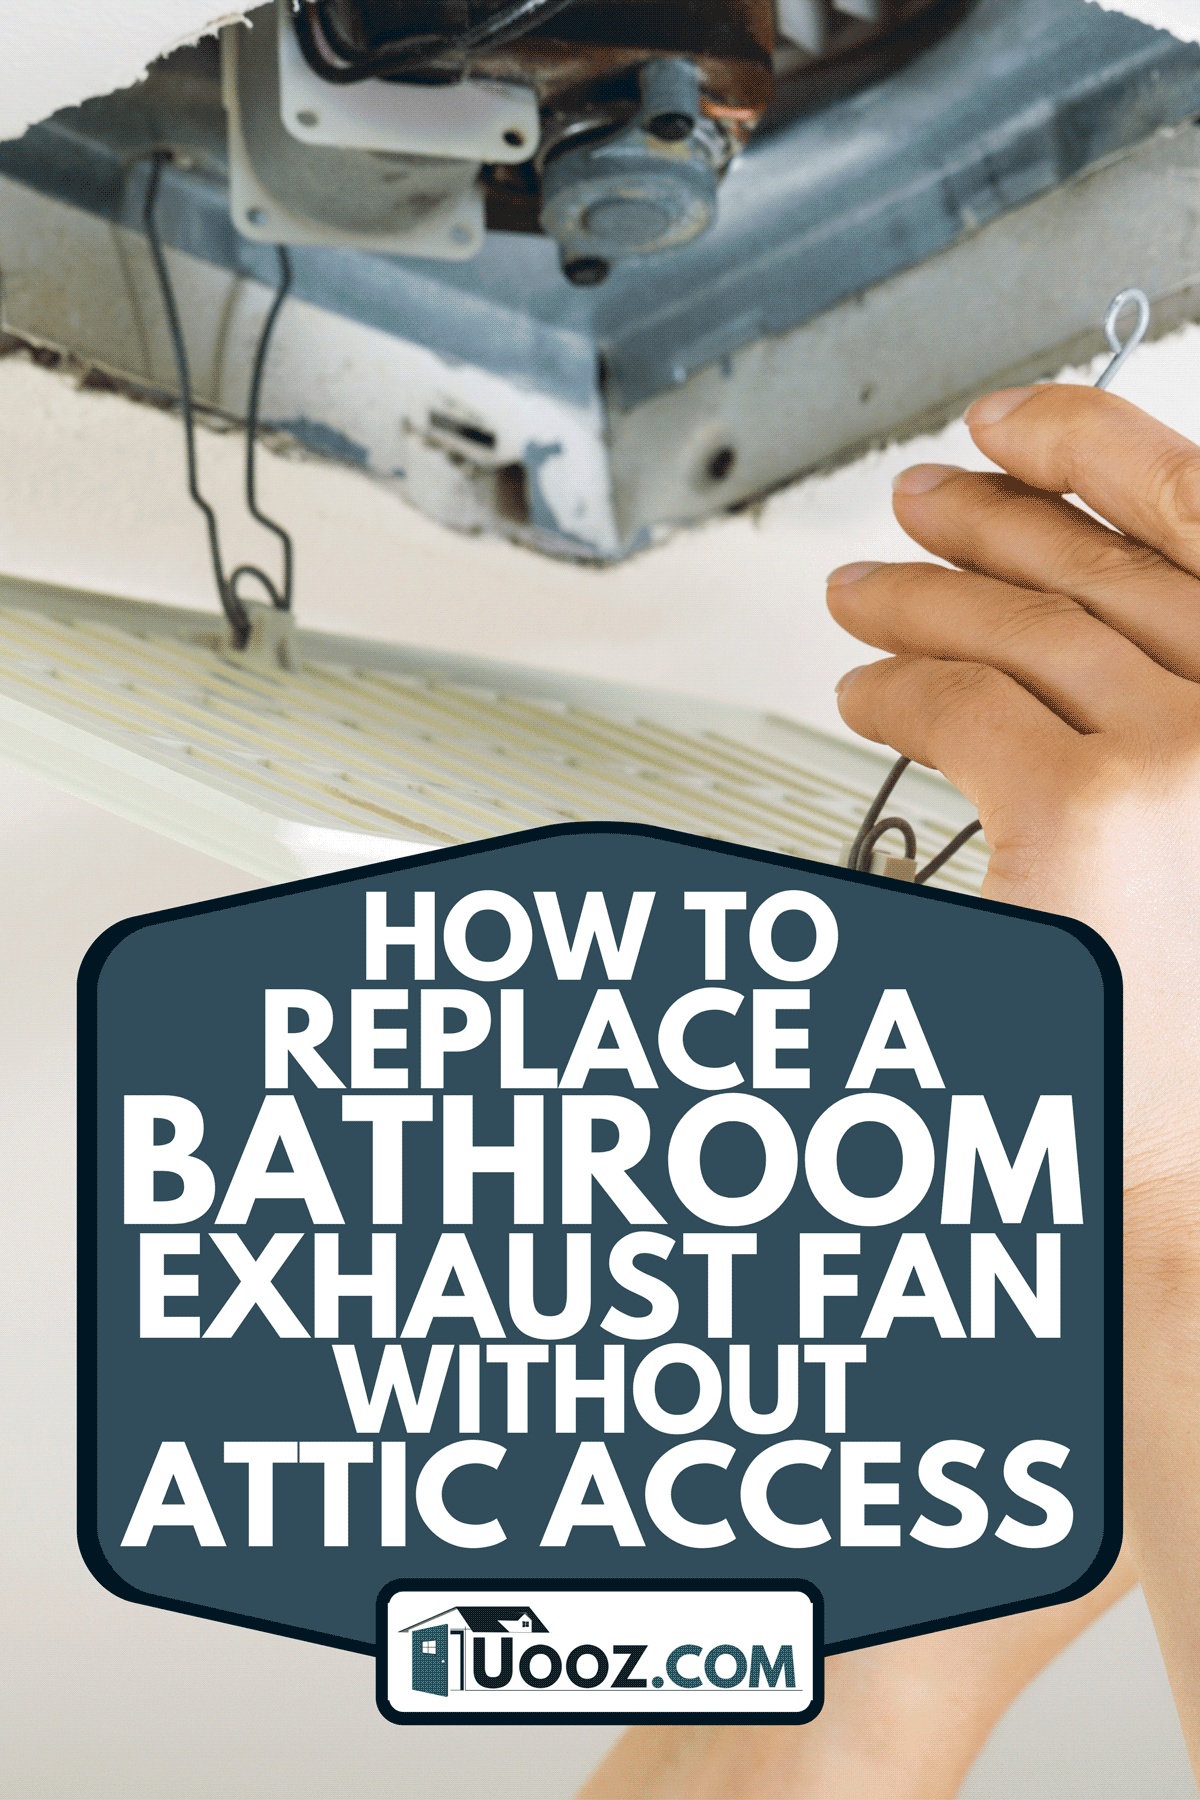
Your bathroom exhaust fan has just gone out, and now the bathroom feels more like a sauna. Sound familiar? The fan needs to be replaced, but you don't have access to the attic due to your current home remodeling project? What do you do? We've researched the best way to replace your bathroom vent without having to access the attic. And this post, we will cover how to do it.
Here are the steps to replace a bathroom exhaust fan without attic access:
- Turn the power off to the bathroom
- Remove the fan cover
- Remove the fan motor
- Remove the fan housing
- Disconnect the wiring and vent duct
- Prepare the new exhaust fan
- Connect the fan housing to the vent duct
- Connect the electrical wires
- Replace the fan cover
- Apply vent tape or caulk
- Turn the power on and test the fan
It's important to create the right ventilation set when replacing your exhaust fan. If not, you may run into building code issues with your local government and moisture and condensation issues in the home. Keep reading to learn about the best way to vent your exhaust fan without attic access.
Steps To Replace A Bathroom Exhaust Fan Without Attic Access
Things you'll need:
- Screwdriver
- Drill
- Tack cloth
- Replacement fan
- Voltage tester
1. Turn the power off to the bathroom
Before doing anything, it's important to first turn off the power to the bathroom to avoid getting electrocuted when handling the wires on the exhaust fan. House breaker boxes are typically located in the basement of a home, and they'll usually have a diagram illustrating the correct switch for the bathroom. You can also double-check the wires on the fan using a non-contact voltage tester to ensure that they have no power flowing through them.

Check out this voltage tester on Amazon.
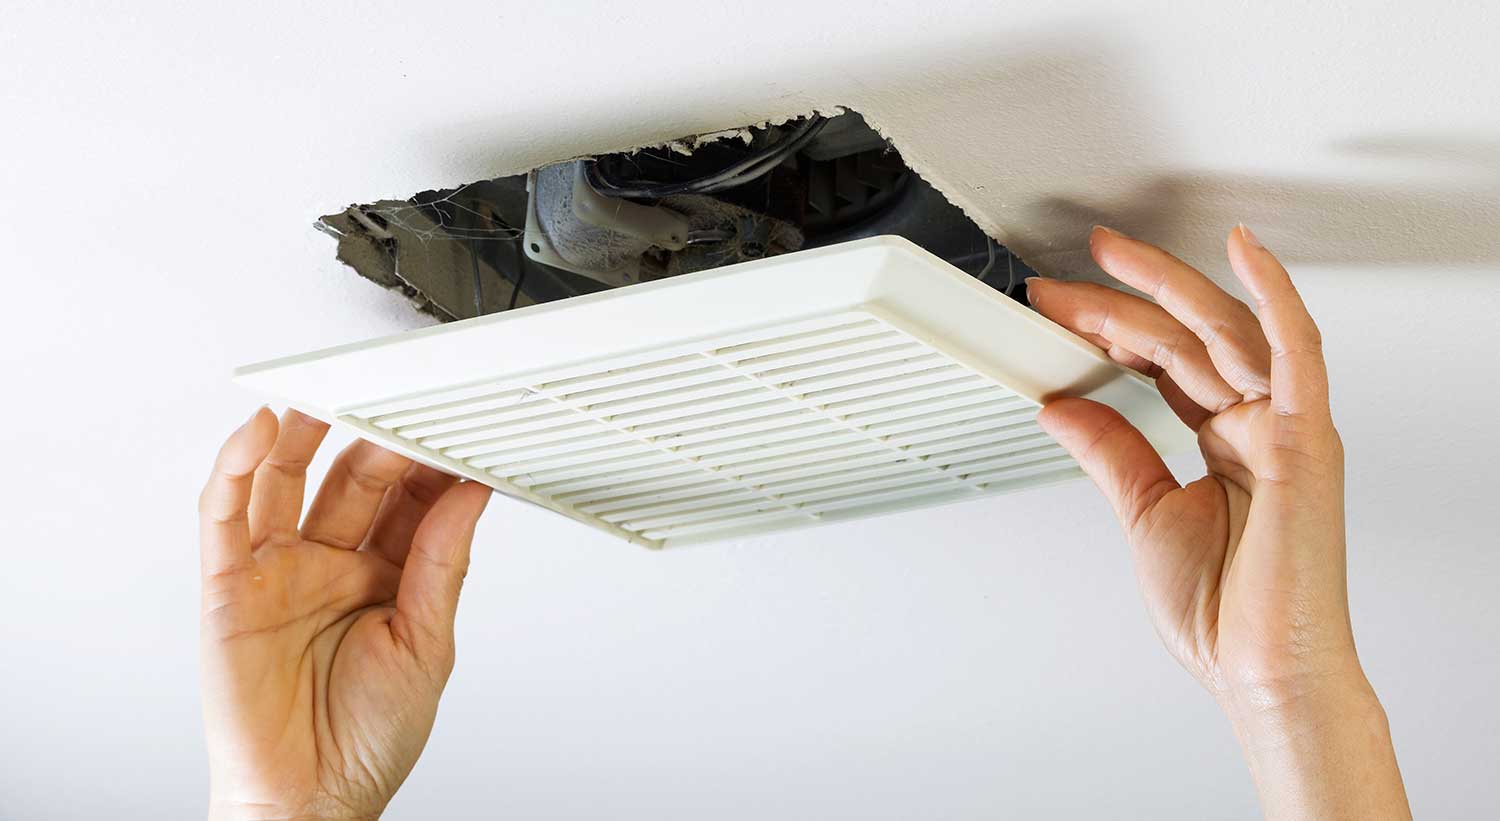
2. Remove the fan cover
Next, remove the grill that is located on the face of the fan. To do this, pull it down and remove the metal clips attached to the fan housing's side. You may need to squeeze the clips or them to the side and pull the cover off, depending on the fan brand you have.
3. Remove the fan motor
After you remove the fan cover, the fan and its motor should be visible. Use a screwdriver to remove the screws attaching the motor to the housing. It should be anywhere from two to four screws total.
Remember that many bathroom vent fans will also have a power cord attached to the housing you'll need to unplug. Be sure to unplug this cord before disassembling the motor from the housing. If the fan doesn't have a power cord, you'll need to disconnect the wires manually.

Read more details about the screwdriver on Amazon.
4. Remove the fan housing
After you've taken out the fan motor, remove the fan housing itself. Typically, the housing will have four screws connected to the joists on the ceiling. Use a screwdriver to unscrew the screws and any metal brackets that may be attached as well. Depending on the size and location of the brackets, you may need to use a small hand saw to cut them away from the ceiling joists. Also, use extreme caution when using the saw, as you don't want to cut the wood ceiling joists next to the brackets accidentally.
You'll want to don a pair of eye goggles and a face mask before doing so.

Learn more about this face mask set on Amazon.
5. Disconnect the wiring and vent duct
Now that you have freed up the housing push it up to the ceiling a few inches so that you can access the vent duct and remove it. The vent duct typically has foil tape surrounding its opening what you will need to cut away with a utility knife. After removing the duct, remove the electrical wiring from the housing. Once the wiring and the duct have been removed, you should be able to pull the entire fan housing down from the ceiling.

Check out this utility knife on Amazon.
6. Prepare the new exhaust fan
Remove the exhaust fan and its hardware from its packaging. Next, place the fan in the ceiling cavity to make sure it is the right size. If the fan is too big, you'll need to mark a hole in the ceiling and saw out a few inches to expand the hole. It's best to use a keyhole or a reciprocating saw to do this.
If you install a different type of exhaust fan, ensure that the housing assembly fits the nearby wood joists. If not, you may need to use a few pieces of scrap plywood to add to the joists for support.

Check out this reciprocating saw on Amazon.
7. Connect the fan housing to the vent duct
Position the fan in the ceiling hole and connect it to the duct. The end of the vent duct should have a connector or a damper where the ceiling fan meets the end of the vent. To do this, you can use foil tape, or you can connect the fan housing to a flapper on the ceiling.
If you are connecting it to the flapper, be sure to push the metal housing right into the ceiling and make sure that the housing is properly secured onto the ceiling joist. After you have connected the vent, wrap the foil around at the end of a duct connection.

Check out this vent tape on Amazon.
8. Connect the electrical wires
Once you have secured the exhaust fan's housing, connect the home's electrical wires to the fan's connections. Before doing this, check the directions that came with the fan to ensure the proper connections. The fan will typically come with quick connect wires that allow you to insert the bare wire into each connector easily.
However, some may require you to actually twist the wires together and affix them with a wire nut. Remember that the electrical wires will be color-coded to help you know where to connect each one–every wire should be connected to a wire of the same color. So to say, you should connect white wires to white wires, and black wires to black wires..
9. Replace the fan cover
It's now time to place the cover back on the fan. First, take the cover and place the bottom side into its position. Next, snap the top back onto the ceiling. Then, re-insert any clips or screws that were removed when you took the previous fan off. Be sure to squeeze the clips so that they snap back in place. You may want to take a quick tug on it just to make sure that the cover's secure.
10. Apply vent tape or caulk
Sometimes exhaust fans can leak air through the ceiling. To prevent this, you can apply vent tape to the areas around the housing. You can also apply a thin layer of caulk.

Find out more about this caulk on Amazon.
11. Turn the power on and test the fan
Turn the power back on to the bathroom and let the fan run for about 15 to 20 minutes. The fan should run non-stop until you turn it off. If it doesn't, you may want to check the pants instructions and re-check the wiring.
Do Bathroom Exhaust Fans Have To Be Vented Through The Roof?
Bathroom exhaust fans don't have to be vented through the roof. However, this is the most common way of venting them. They can be vented in the ceiling through an exterior wall. Before doing this, however, you'll want to make sure that the vent meets the local building of your city or town. The reason is that the vent may be too close to the windows or property line of your neighbors, so it's best to double-check it first.
Is It OK To Vent A Bathroom Fan Into The Attic?
No, it's not recommended to vent a bathroom exhaust to your attic. Not only does this violate most building codes, but it can also cause moisture issues within your home which can lead to mold and other problems.
Can You Use PVC Pipe To Vent A Bathroom Fan?
Typically, no. Most building codes require that bathroom exhaust vents have an insulated flex duct, galvanized steel, or aluminum between the fan's motor and exhaust. PVC typically isn't suitable for this type of ventilation. However, it's always best to check with your local government first.
How Much Does It Cost To Replace A Bathroom Exhaust Fan?
For the most part, replacing a bathroom exhaust fan is a fairly simple project. That is unless you need customized venting due to irregular or customized bathroom designs. You can expect to pay anywhere from $250 to $600 or more for a bathroom exhaust fan replacement. The cost will be on the higher end if you need extended or customized venting for the fan.
Wrapping Things Up
We hope this post has helped you learn more about how to replace a bathroom fan without accessing the attic. Remember, it's always best to know what local building codes you'll need to follow before replacing your exhaust fan, especially if you're setting up new ventilation.
Check out our other posts before you go:
Can't Open Attic Door – What To Do?
Should You Caulk Around A Bathroom Sink Faucet?
How To Replace Bathroom Fan Vent
Source: https://uooz.com/replacing-bathroom-exhaust-fan-without-attic-access/


Post a Comment